

Do you struggle hanging items on the wall? Do you still have items that you want to hang, but don’t have the help to do it? If you answered yes, I’ve got the perfect hack for you! All you need is painters tape and your standard hanging supplies (I use a hammer, a level, and these nails.) If you prefer a video over a blog post, I have a reel on my instagram with this tutorial! @teachwinerepeat This method is especially helpful when hanging multiple items and gallery wall frames.
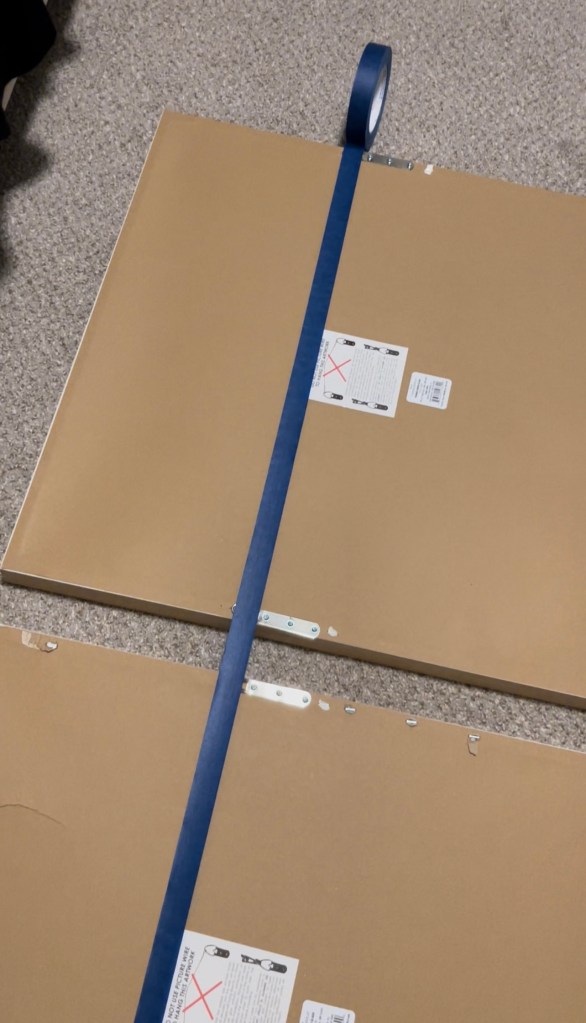
If you have multiple items to hang, start with positioning your items to hang on the ground.
Once you get them how you like them, grab the item that will be hung the lowest (closest to the ground/object below). If you only have one item, it will be this item.

Grab your painters tape, and use it to measure the space between the nail spot on your lowest hung item and the ground/item below. You will be using this measuring piece of tape and putting it perpendicular to your nail hanging tape later.
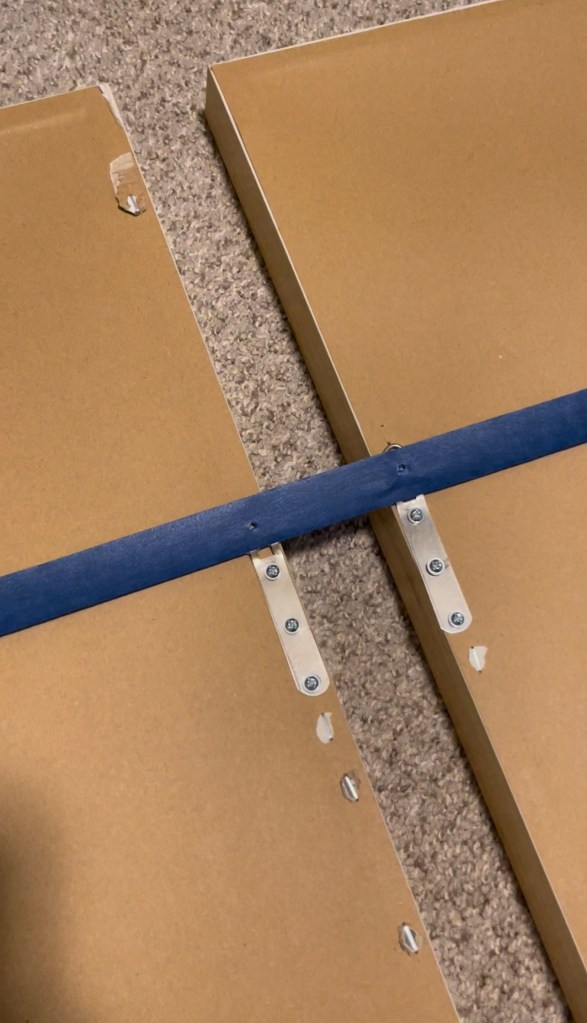
Next, take your painters tape and line it up to go across the nail holes. Rip off the extra and lightly stick your tape down so it stays.
Once you have lined it up and lightly stuck, poke holes in each spot that your nail will go.
Now you’re ready to put the tape on the wall! Take your measuring piece of tape and line it up the wall from the ground/object below.
Next, you’ll take your hanging tape and put it perpendicular (making a T) to your measuring tape. Now that you have it all on the wall, you can readjust where needed (location, leveling, up/down).

When you are happy with your template on the wall, it’s time to nail! Using a hammer, nail each nail into your holes that you made on your hanging tape. Once you have nailed each spot, remove the painters tape.

Hang your items on the wall and you are done! If you don’t use a level, you might need to readjust your nails so I highly recommend using a level if you are at a “beginner” level for hanging!

